Simple Wood Cutting Boards to Build and Sell
Simple Wood Cutting Boards to Build and Sell
Wood cutting boards are a staple in any kitchen, offering a practical and aesthetically pleasing surface for food preparation. Their enduring popularity makes them a lucrative opportunity for woodworking enthusiasts looking to turn their passion into a profitable venture. This article will guide you through the process of crafting simple yet stylish wood cutting boards that are both functional and marketable.
Choosing the Right Wood
The heart of any cutting board lies in its wood selection. Opting for the right species is crucial for durability, aesthetic appeal, and food safety. Here are some popular choices:
Hardwoods for Durability
- Maple: Renowned for its hardness, durability, and light color, maple is an excellent all-around choice. Its tight grain pattern makes it resistant to scratches and wear.
- Cherry: Known for its rich, reddish-brown hue and beautiful grain, cherry is both attractive and durable. Its slightly softer nature makes it easier to work with.
- Walnut: This wood boasts a striking dark brown color with distinctive grain patterns. Its durability and resistance to moisture make it ideal for cutting boards.
- Oak: A classic choice, oak offers excellent hardness and durability, coupled with a warm, rustic aesthetic. Its open grain may require more sanding for a smooth finish.
Softwoods for Budget-Friendly Options
- Pine: A softwood that is readily available and affordable. Pine offers a light, knotty appearance. However, its softness makes it more susceptible to scratches and damage.
- Cedar: Known for its aromatic qualities and resistance to insect infestation, cedar is a good choice for budget-friendly cutting boards. Its softness requires careful handling.
Consider your target market and budget when selecting wood. Hardwoods offer superior performance and longevity, while softwoods provide a more affordable alternative.
Basic Cutting Board Designs
Simple designs are often the most functional and appealing. Start with these classic shapes:
Rectangular Cutting Boards
Rectangular boards are versatile and easy to construct. They provide ample space for food preparation and are ideal for smaller kitchens.
Round Cutting Boards
Round boards offer a unique aesthetic and are perfect for serving cheese or charcuterie. They can also be used as trivets or platters.
Oval Cutting Boards
Oval boards combine the practicality of rectangular boards with the elegance of round boards. They offer a smooth, continuous surface for slicing and chopping.
Essential Tools and Materials
To build your own cutting boards, you will need these essential tools and materials:
- Wood: Choose your preferred wood species and ensure it is properly dried.
- Table Saw: Used for cutting the wood to size and creating the desired shape.
- Jointer: Used to create a flat and even surface on the wood, essential for gluing boards together.
- Planer: Used to smooth and flatten the surface of the wood, ensuring a consistent thickness.
- Hand Plane: Useful for fine-tuning the surface and creating bevels.
- Router: Used for creating decorative edges and rounded corners.
- Sandpaper: Used to smooth the surface of the wood and remove any imperfections.
- Wood Glue: Used to bond the boards together.
- Clamps: Used to hold the boards together while the glue dries.
- Finishing Oil: Used to protect the wood from moisture and staining. Mineral oil, beeswax, or food-safe cutting board oil are excellent choices.
- Measuring Tape: Used for accurate measurements and marking.
- Pencil: Used for marking the wood.
Building the Cutting Board
Follow these steps to construct a simple cutting board:
1. Cut the Wood
Using a table saw, cut the wood to the desired dimensions for your chosen design. Ensure the pieces are cut to an even thickness.
2. Glue Up the Boards
If your design requires multiple boards, apply a thin layer of wood glue to the edges of each board and clamp them together. Allow the glue to dry completely.
3. Plane and Sand
Use a jointer and planer to create a flat, even surface on the top and bottom of the cutting board. Sand the board with progressively finer grit sandpaper to smooth out any imperfections.
4. Shape the Edges
Use a router or hand plane to create a smooth, finished edge profile. You can opt for a simple bevel, a rounded edge, or a more decorative design.
5. Apply Finishing Oil
Apply a generous coat of food-safe finishing oil to all surfaces of the cutting board. Allow the oil to soak in and dry completely. Repeat this process several times for optimal protection.
Adding Personal Touches
Once you have mastered the basics, explore these techniques to elevate your cutting boards:
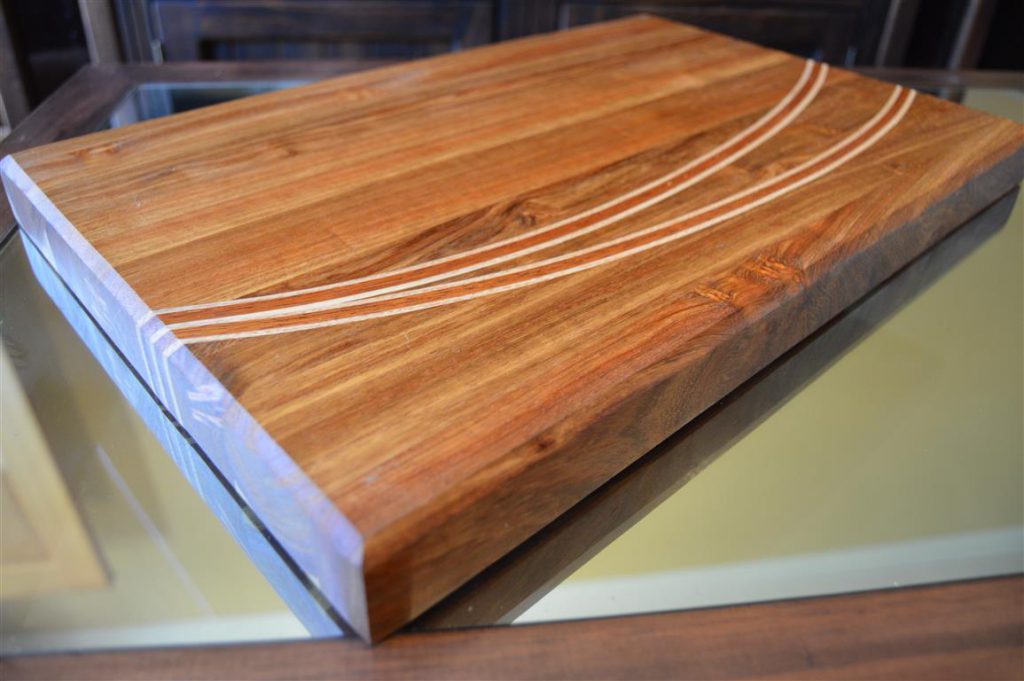
Inlay Designs
Inlay strips of contrasting wood into the surface of the cutting board to create eye-catching designs. Use a router to create channels for the inlay pieces.
Edge Treatments
Enhance the edges of your cutting boards with decorative details like inlays, moldings, or carvings. These touches add a unique and personal feel.
Branding
Add your personal brand or logo to the cutting board using a laser engraver or woodburning tool. This adds a professional touch and helps to create a sense of exclusivity.
Marketing and Selling Your Cutting Boards
Once you have a collection of beautiful and functional cutting boards, it's time to market and sell your creations. Consider these strategies:
Online Marketplaces
Platforms like Etsy, Amazon Handmade, and eBay offer vast reach and a dedicated audience for handcrafted goods.
Local Craft Fairs and Markets
Participate in local events to showcase your cutting boards directly to potential customers. Offer demos and personalize your display to attract attention.
Social Media Promotion
Utilize Instagram, Facebook, and Pinterest to share stunning photos and videos of your cutting boards. Engage with potential customers and build a following.
Word-of-Mouth Marketing
Leverage the power of word-of-mouth by offering exceptional customer service and encouraging happy customers to spread the word.
Conclusion
Crafting simple wood cutting boards can be a fulfilling and rewarding experience. By following these steps and incorporating creative touches, you can create high-quality pieces that appeal to a wide market. Remember, the key to success lies in offering quality craftsmanship, unique designs, and excellent customer service.


Comments
Post a Comment